
You have a design you love, a contractor ready to start, and a date in mind. Then the HOA sends your application back: incomplete. You fix one thing, resubmit, and wait for the next monthly meeting. By the time you're approved, the contractor has moved on to another job.
This happens all the time, and the frustrating part is that most rejections have nothing to do with the design itself. They happen because a plan wasn't to scale, a wall height wasn't labeled, a plant wasn't on the approved list, or a color wasn't on the palette.
The good news is that almost all of this is predictable. Here's how HOA review works, what committees usually ask for, and how to prepare a submission that gets approved the first time.
How HOA review works
Most planned communities have an architectural review committee, sometimes called an ARC, ARB, or design review committee. Its job is to make sure changes to homes and yards follow the community's governing documents, usually the CC&Rs and a separate set of design guidelines.
The process usually looks like this:
- You submit an application form with plans and supporting documents, often through the management company.
- The committee reviews it, usually at a scheduled meeting, which may happen only once or twice a month.
- You receive an approval, a conditional approval with changes, a request for more information, or a denial.
Review timelines vary by community, and your governing documents often state how long the committee has to respond. Many applications take several weeks, and every resubmission can add another review cycle.
One important point: HOA approval doesn't replace city or county permits. Pools, taller walls, gas lines, and electrical work often need permits of their own. The HOA checks whether your project fits the community. The city checks whether it's safe and meets code. You usually need both.
Step 1: Read the design guidelines before anything is designed
The best time to think about HOA approval is before the design starts, not after. Ask your management company for the current design guidelines and the landscape submission checklist, and look for:
- Approved and prohibited plants. Many desert communities require low-water plants, and some prohibit certain species, such as high-pollen trees or invasive plants.
- Turf and gravel rules. Some communities limit turf, others require a minimum amount of planting coverage.
- Wall and fence rules. Maximum heights, approved materials, required colors, and whether view fencing is required on certain lots.
- Color palette. Many communities require stucco, paint, and hardscape colors from an approved range of earth tones.
- Setbacks and easements. How close structures can be to property lines, and which areas can't be built on.
- View corridors. Some lots have rules protecting neighbors' views of mountains, golf courses, or open space.
- Lighting rules. Some communities limit brightness or require fixtures that direct light downward.
- Submission requirements. Required drawings, number of copies, fees, deposits, deadlines, and meeting dates.
Give these guidelines to your designer at the start. It's much easier to design within the rules than to redesign after a rejection.
Step 2: Put together a complete submission
Every community has its own checklist, but most committees ask for some version of the following:
- Completed application form with homeowner signature and contractor information
- Scaled site plan showing property lines, the house footprint, setbacks, and every proposed element with dimensions
- Planting plan and plant list with species, quantities, and sizes at installation
- Hardscape and materials list covering pavers, stone, gravel, and decorative rock, ideally with photos or samples
- Colors for walls, stucco, and structures, matched to the approved palette
- Wall, fence, and gate details with heights, materials, and elevation drawings
- Structures such as pergolas, ramadas, outdoor kitchens, and fire features, with heights and materials
- Lighting plan with fixture locations and product specifications
- Grading and drainage notes, showing that water won't be directed onto neighboring lots
- Pool details, if included, with location, setbacks, and barrier fencing
- Neighbor notification or signatures, if your community requires them
- Visuals showing how the finished project will look
A complete submission with everything clearly labeled is the single biggest factor in getting approved on the first try.
The most common reasons plans get rejected
In my experience, rejections usually come down to a short list of problems:
- Plans not drawn to scale, or missing dimensions and setbacks
- Plants that aren't on the approved list, or trees placed too close to walls, pools, or property lines
- Walls or fences that are too tall, in the wrong material, or in the wrong color
- Colors or materials not on the approved palette
- Structures that exceed height limits or block a neighbor's view
- Drainage that sends water toward a neighbor's lot
- Lighting that's too bright or aimed at neighboring homes
- Missing information, such as no plant sizes, no fixture specs, or no contractor details
Notice that almost none of these are about whether the design is beautiful. They're about whether the committee can clearly see that it follows the rules.
Why renders help you get approved faster
Most review committees are made up of volunteer homeowners, not designers. Many of them can't easily read a technical plan and imagine the result. When they're unsure what something will look like, the easy answer is to ask for more information or deny the application.
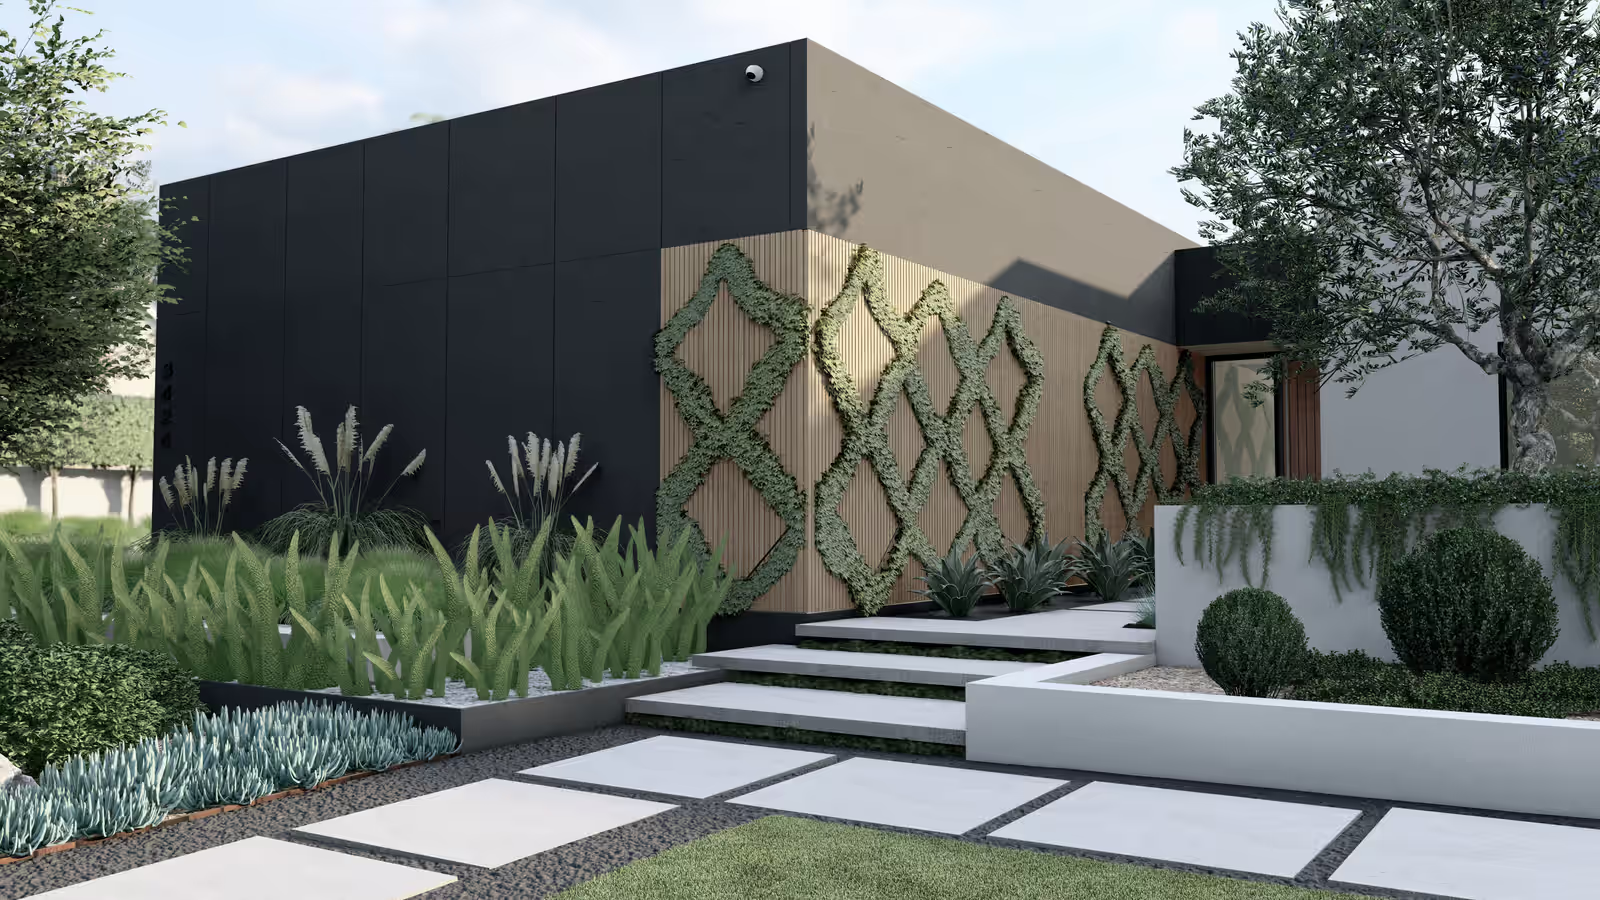
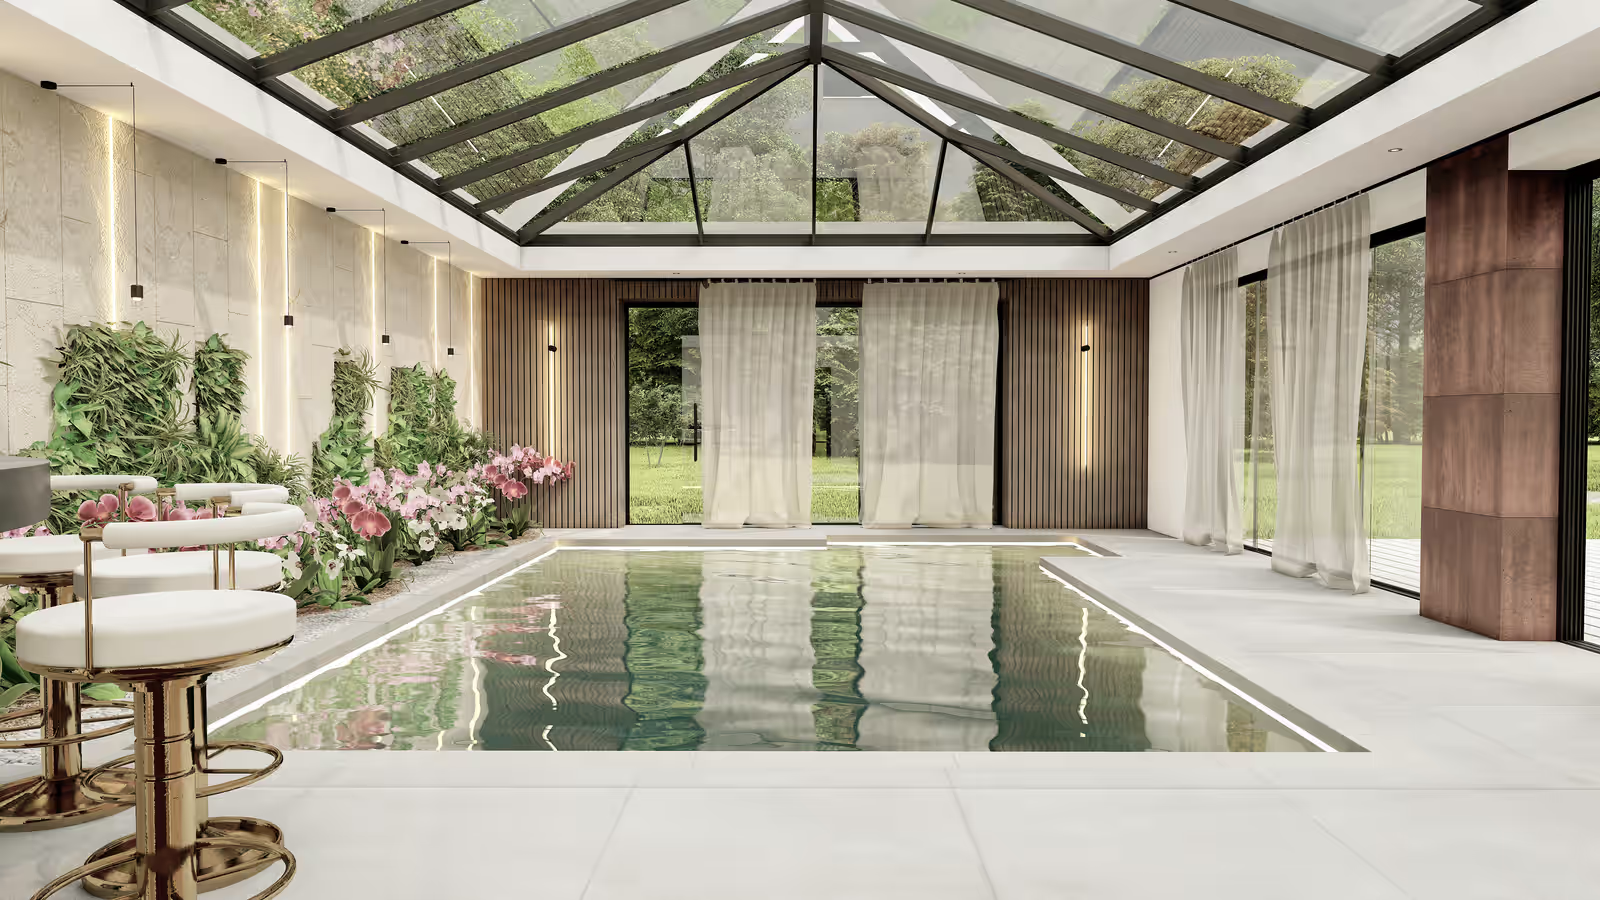
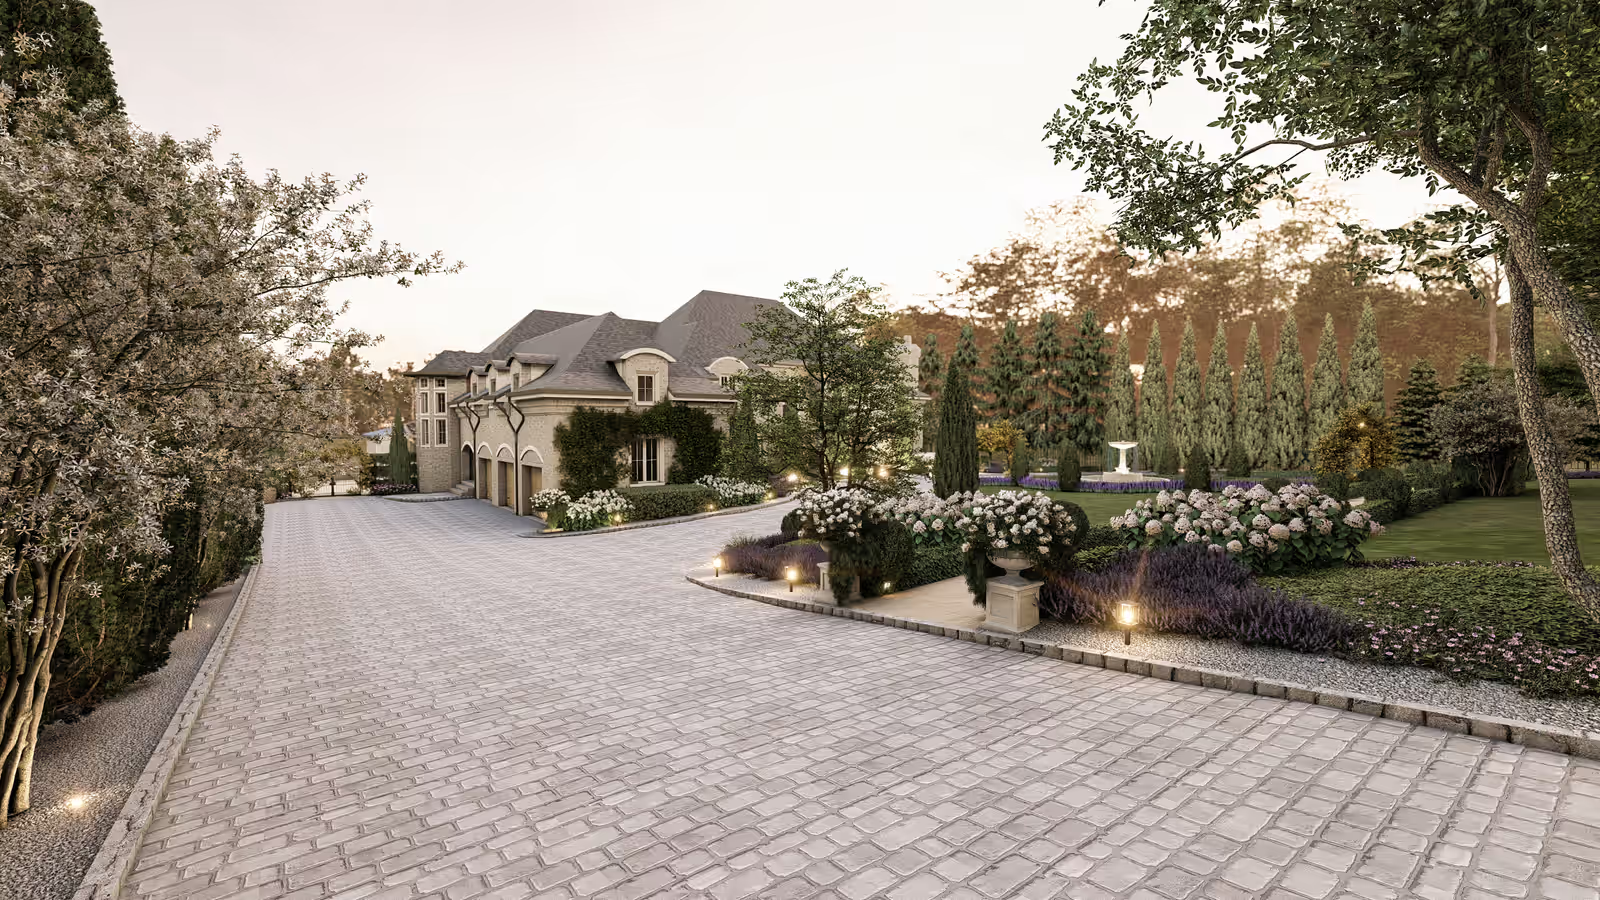
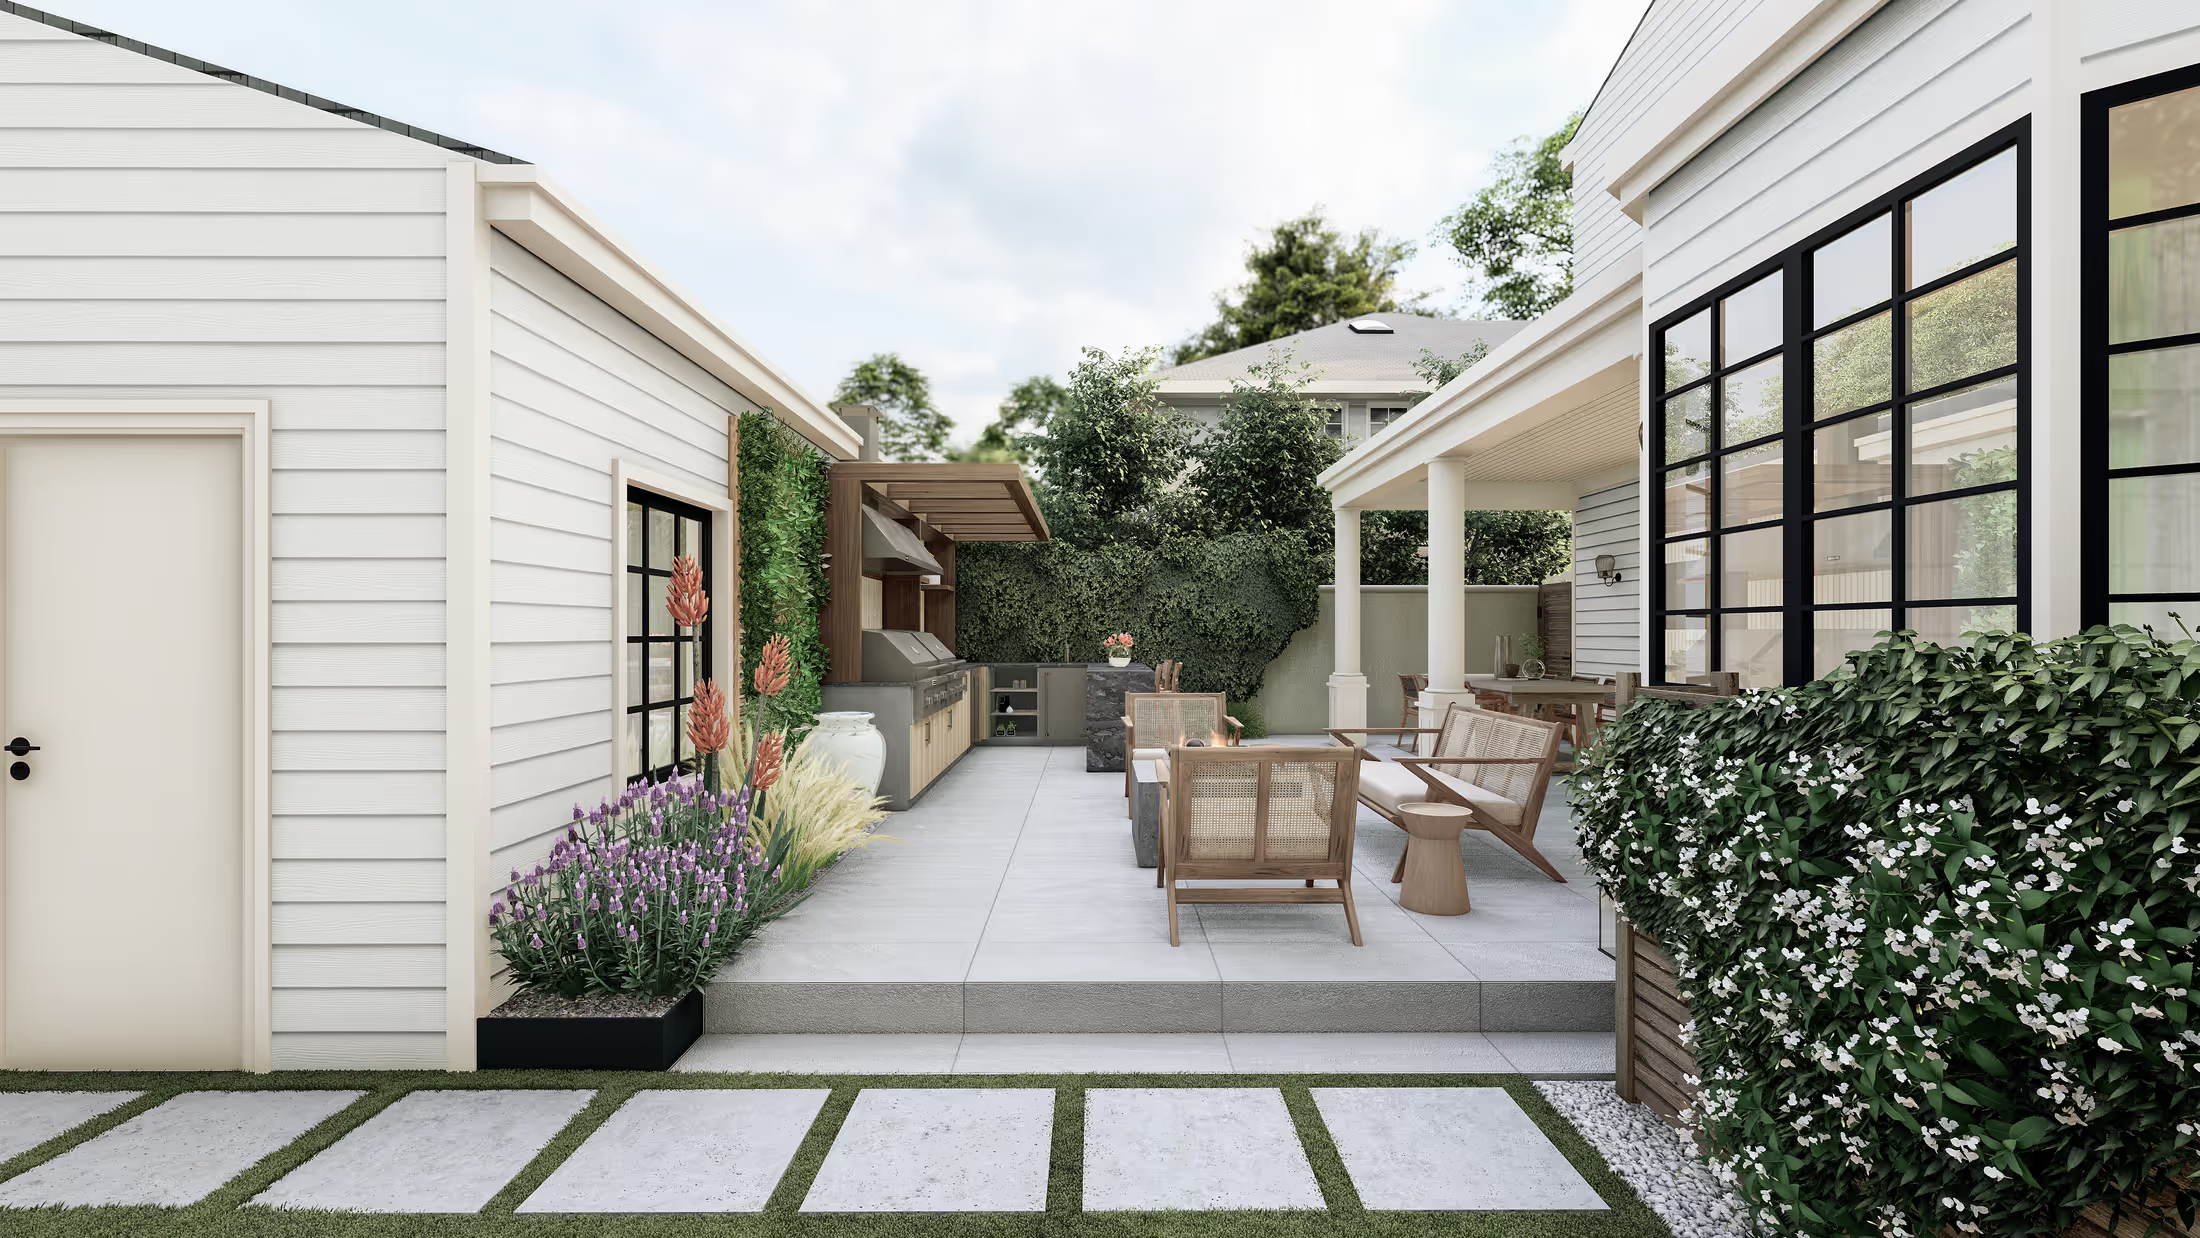
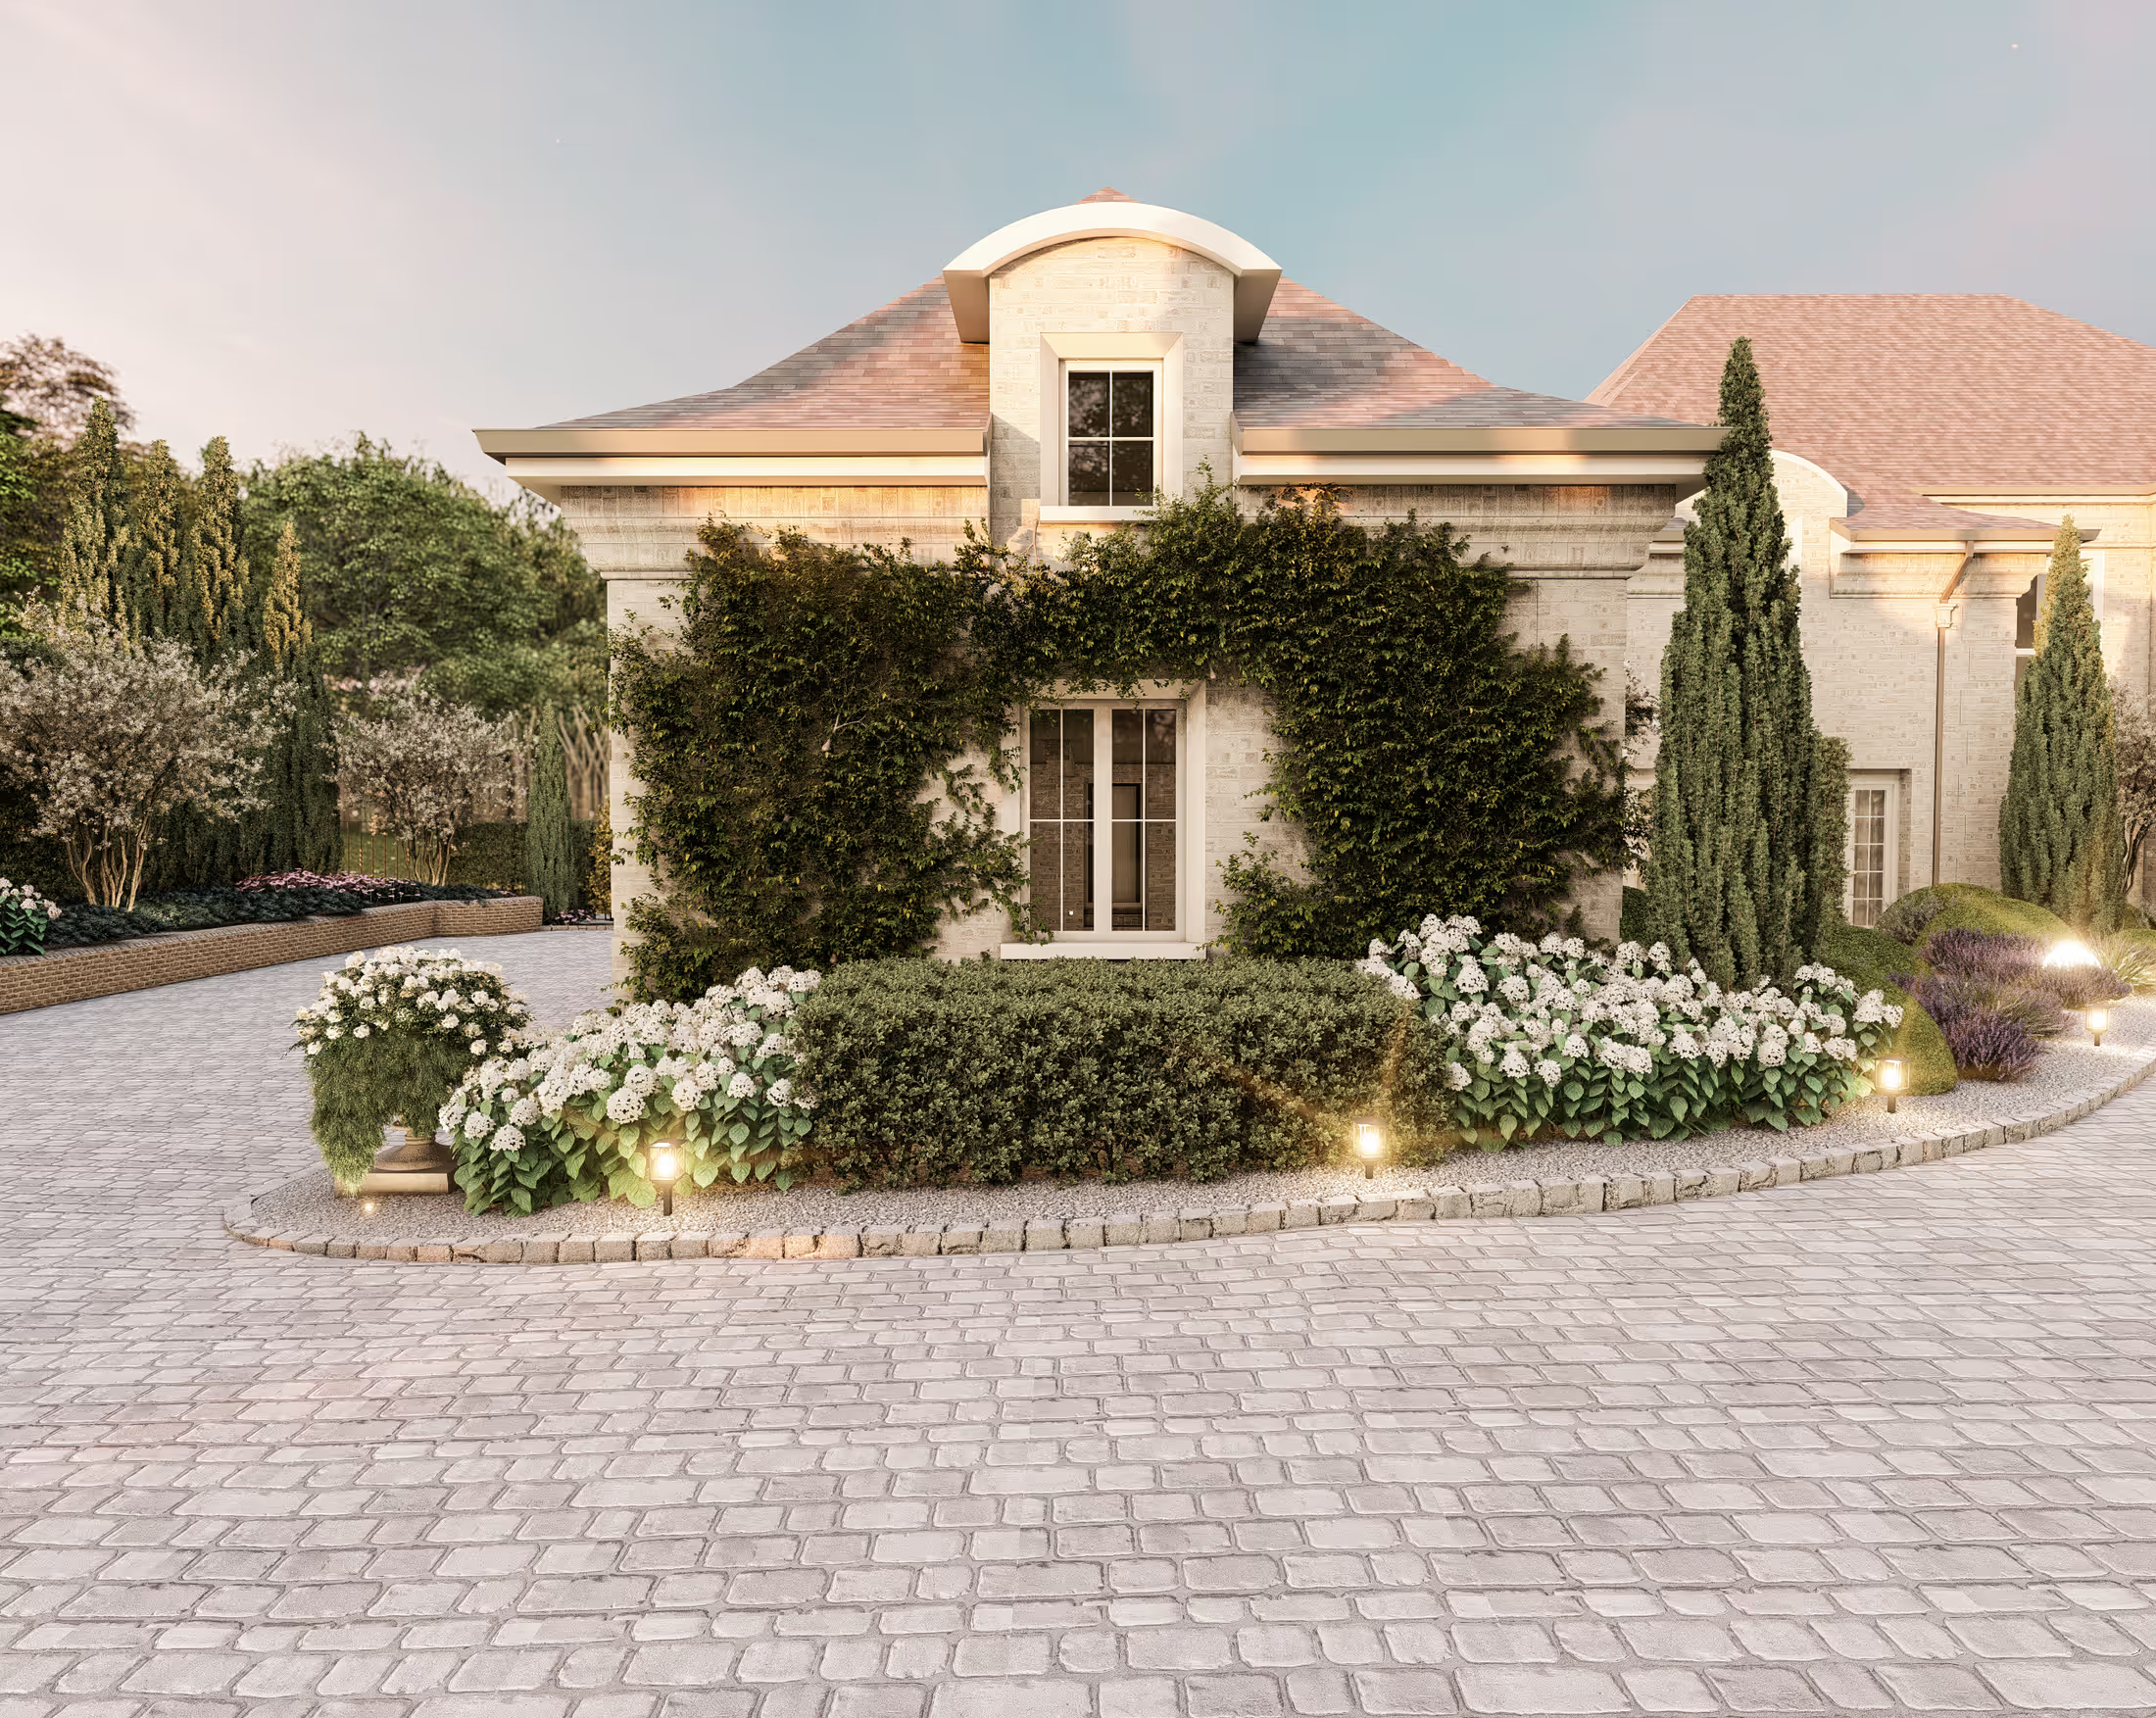
A photorealistic render removes that uncertainty. The committee can see the wall height relative to the house, the color of the stucco, how tall the trees will be, and whether anything blocks a neighbor's view. Paired with a scaled plan that shows the exact dimensions, a render gives them both the picture and the proof.
It matters that the render is accurate. A render that looks better than what the plan actually shows can backfire if the committee notices the difference, or if the finished project doesn't match what was approved.
Tips to get approved the first time
- Call the management company before you submit. Confirm you have the latest guidelines, ask about deadlines and meeting dates, and ask what applications most often get sent back for.
- Label compliance directly on the plan. Instead of making the committee search, note it: wall height and material, color names from the approved palette, and setback distances.
- Use the community's own terms. If the guidelines call it a "view fence," call it a view fence.
- Show the neighbors' perspective. If your project is near a shared wall or a view corridor, show that it doesn't affect them.
- Submit early. Leave time for at least one round of questions before your contractor's start date.
- Read conditional approvals carefully. Conditions are part of the approval, and your contractor needs to know about them.
- Keep the approval letter and approved plans. Build exactly what was approved, and ask the HOA before making changes on site.
- Never start work before approval. Unapproved work can lead to fines or an order to remove it at your own cost.
What to do if your plan is rejected
A rejection is rarely final. Read the reasons carefully, and ask the management company for clarification if anything is unclear. Revise only what the committee asked for, respond to each point clearly in your resubmission, and include updated drawings. If you disagree with a decision, your governing documents usually describe how to request a reconsideration or appeal.
How I prepare plans for HOA review
My design packages include two things committees rely on: scaled, contractor-ready CAD plans with dimensions, planting, and materials, and photorealistic 3D renders that show the finished project in context with your home. Together, they answer most of the questions a review committee asks before they ask them.
When you share your community's design guidelines at the start, I design within them from the first concept, so the plan you fall in love with is also the plan that gets approved.
Quick checklist
Tick items off as you go.
Planning a yard of your own?
Send a few photos and I’ll show you what it can become.