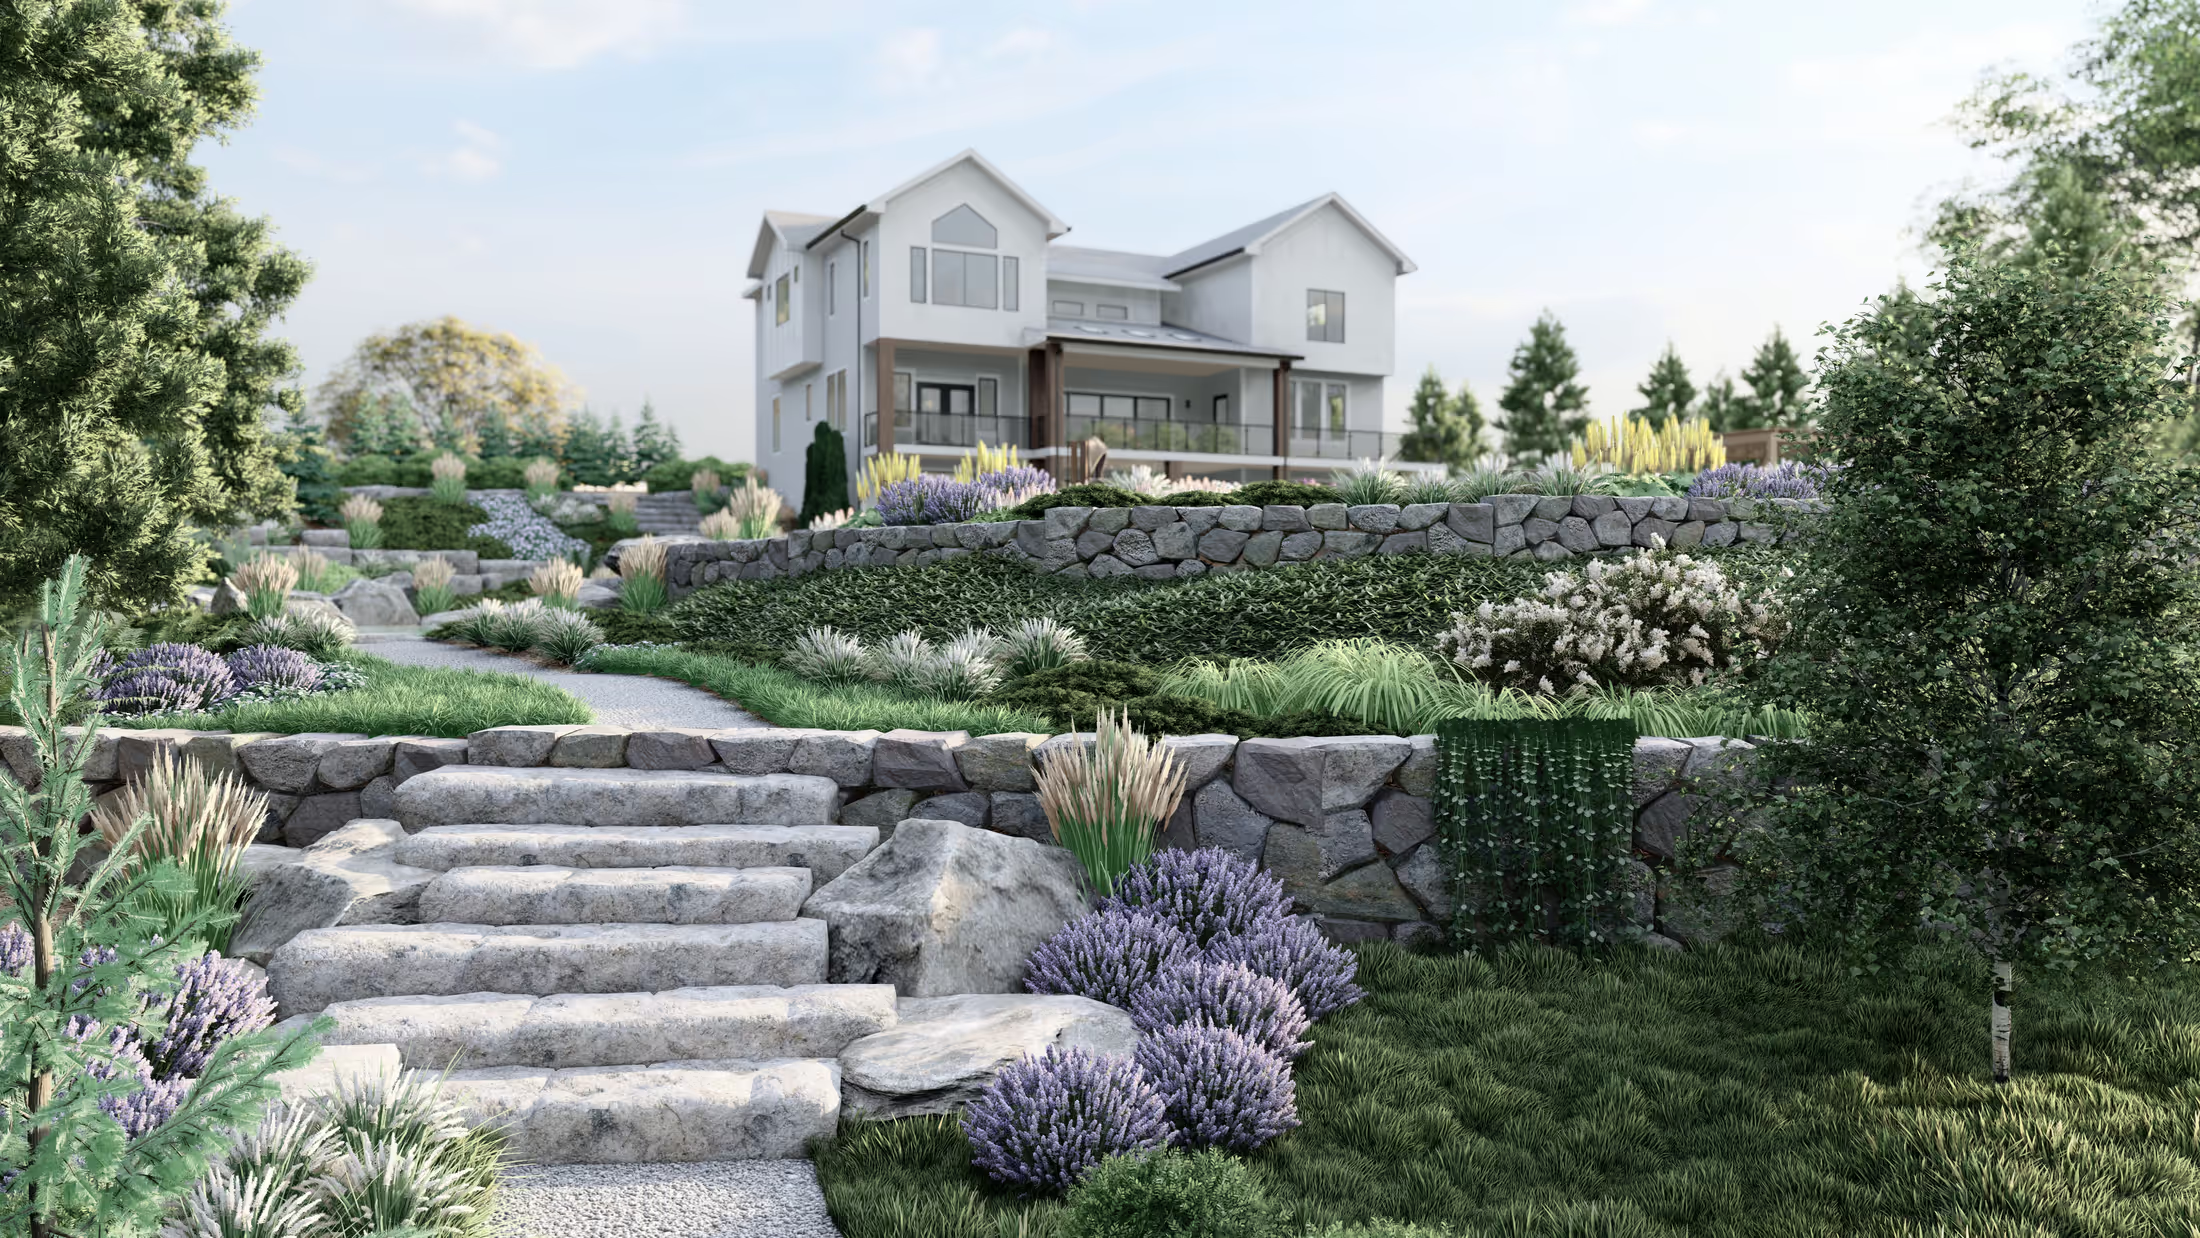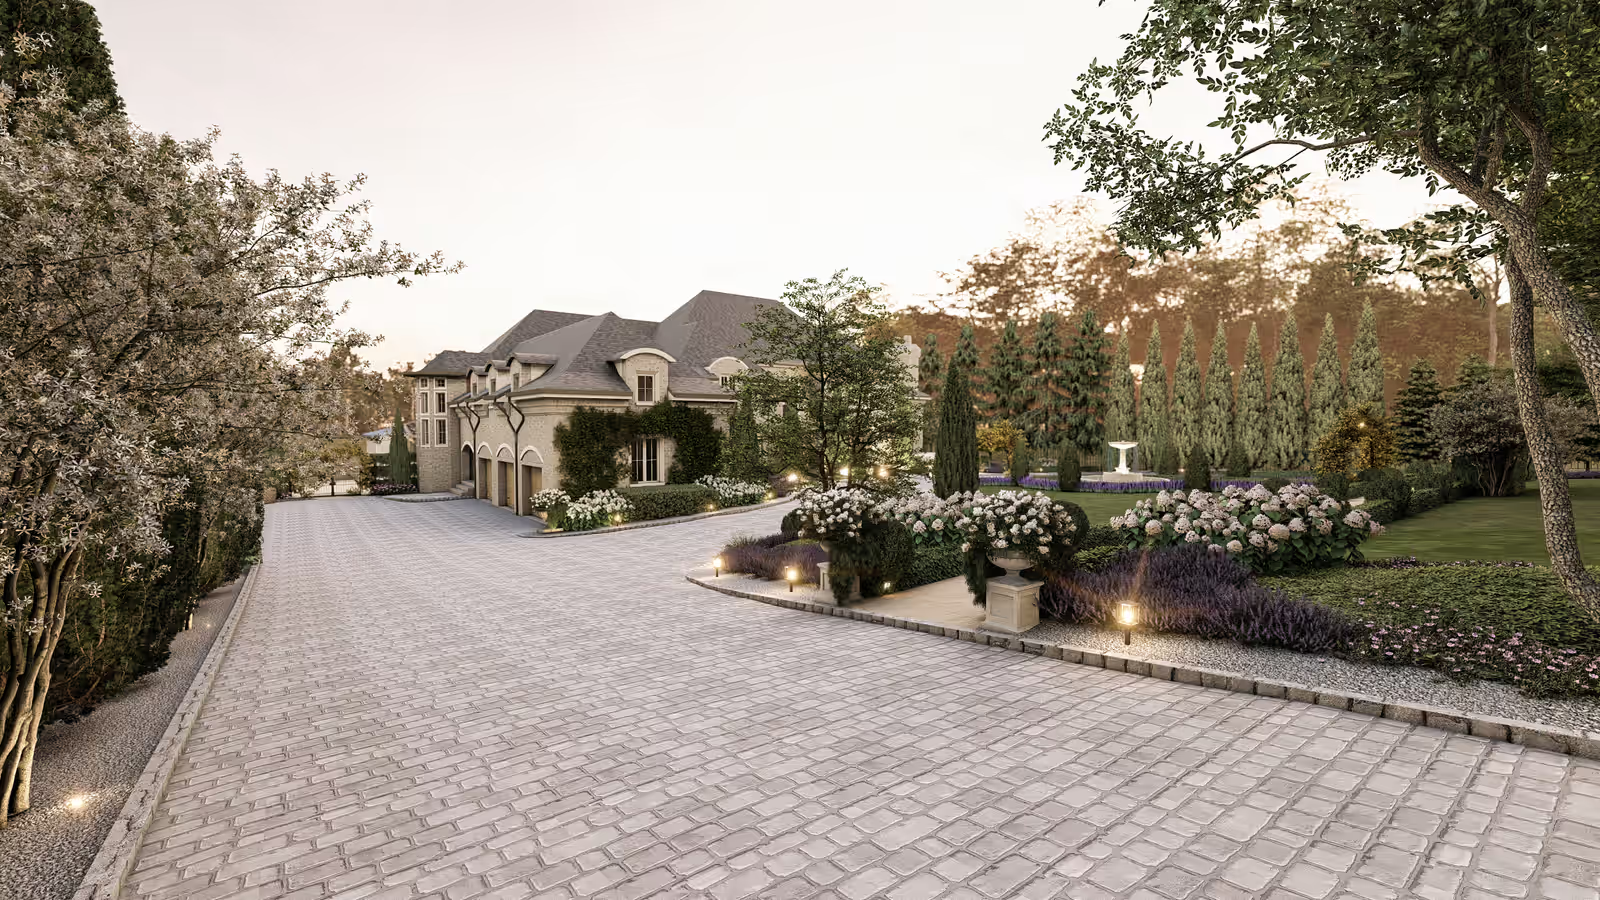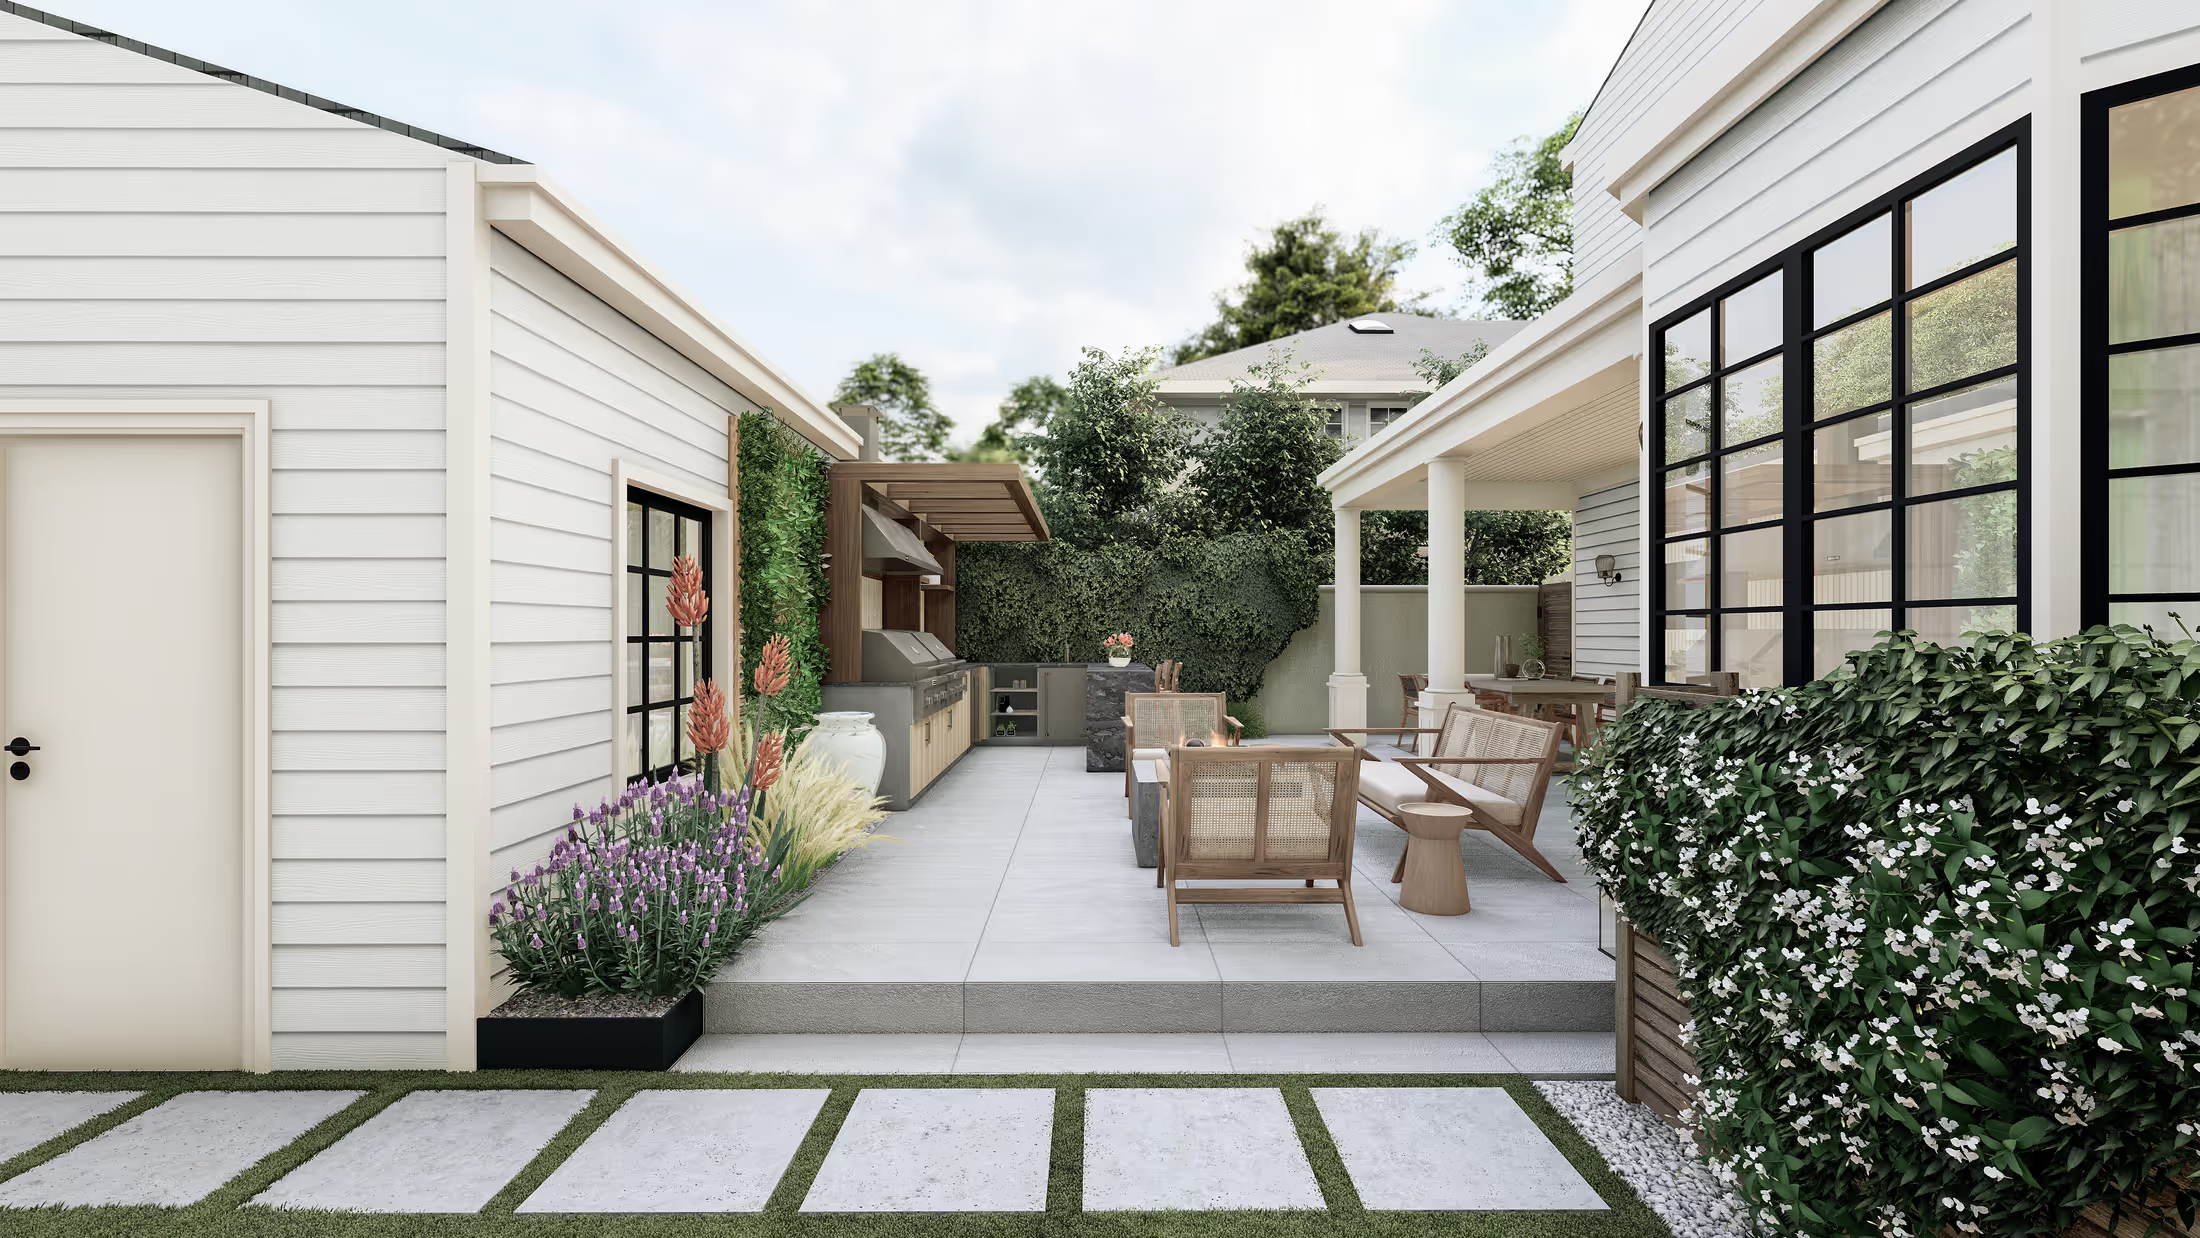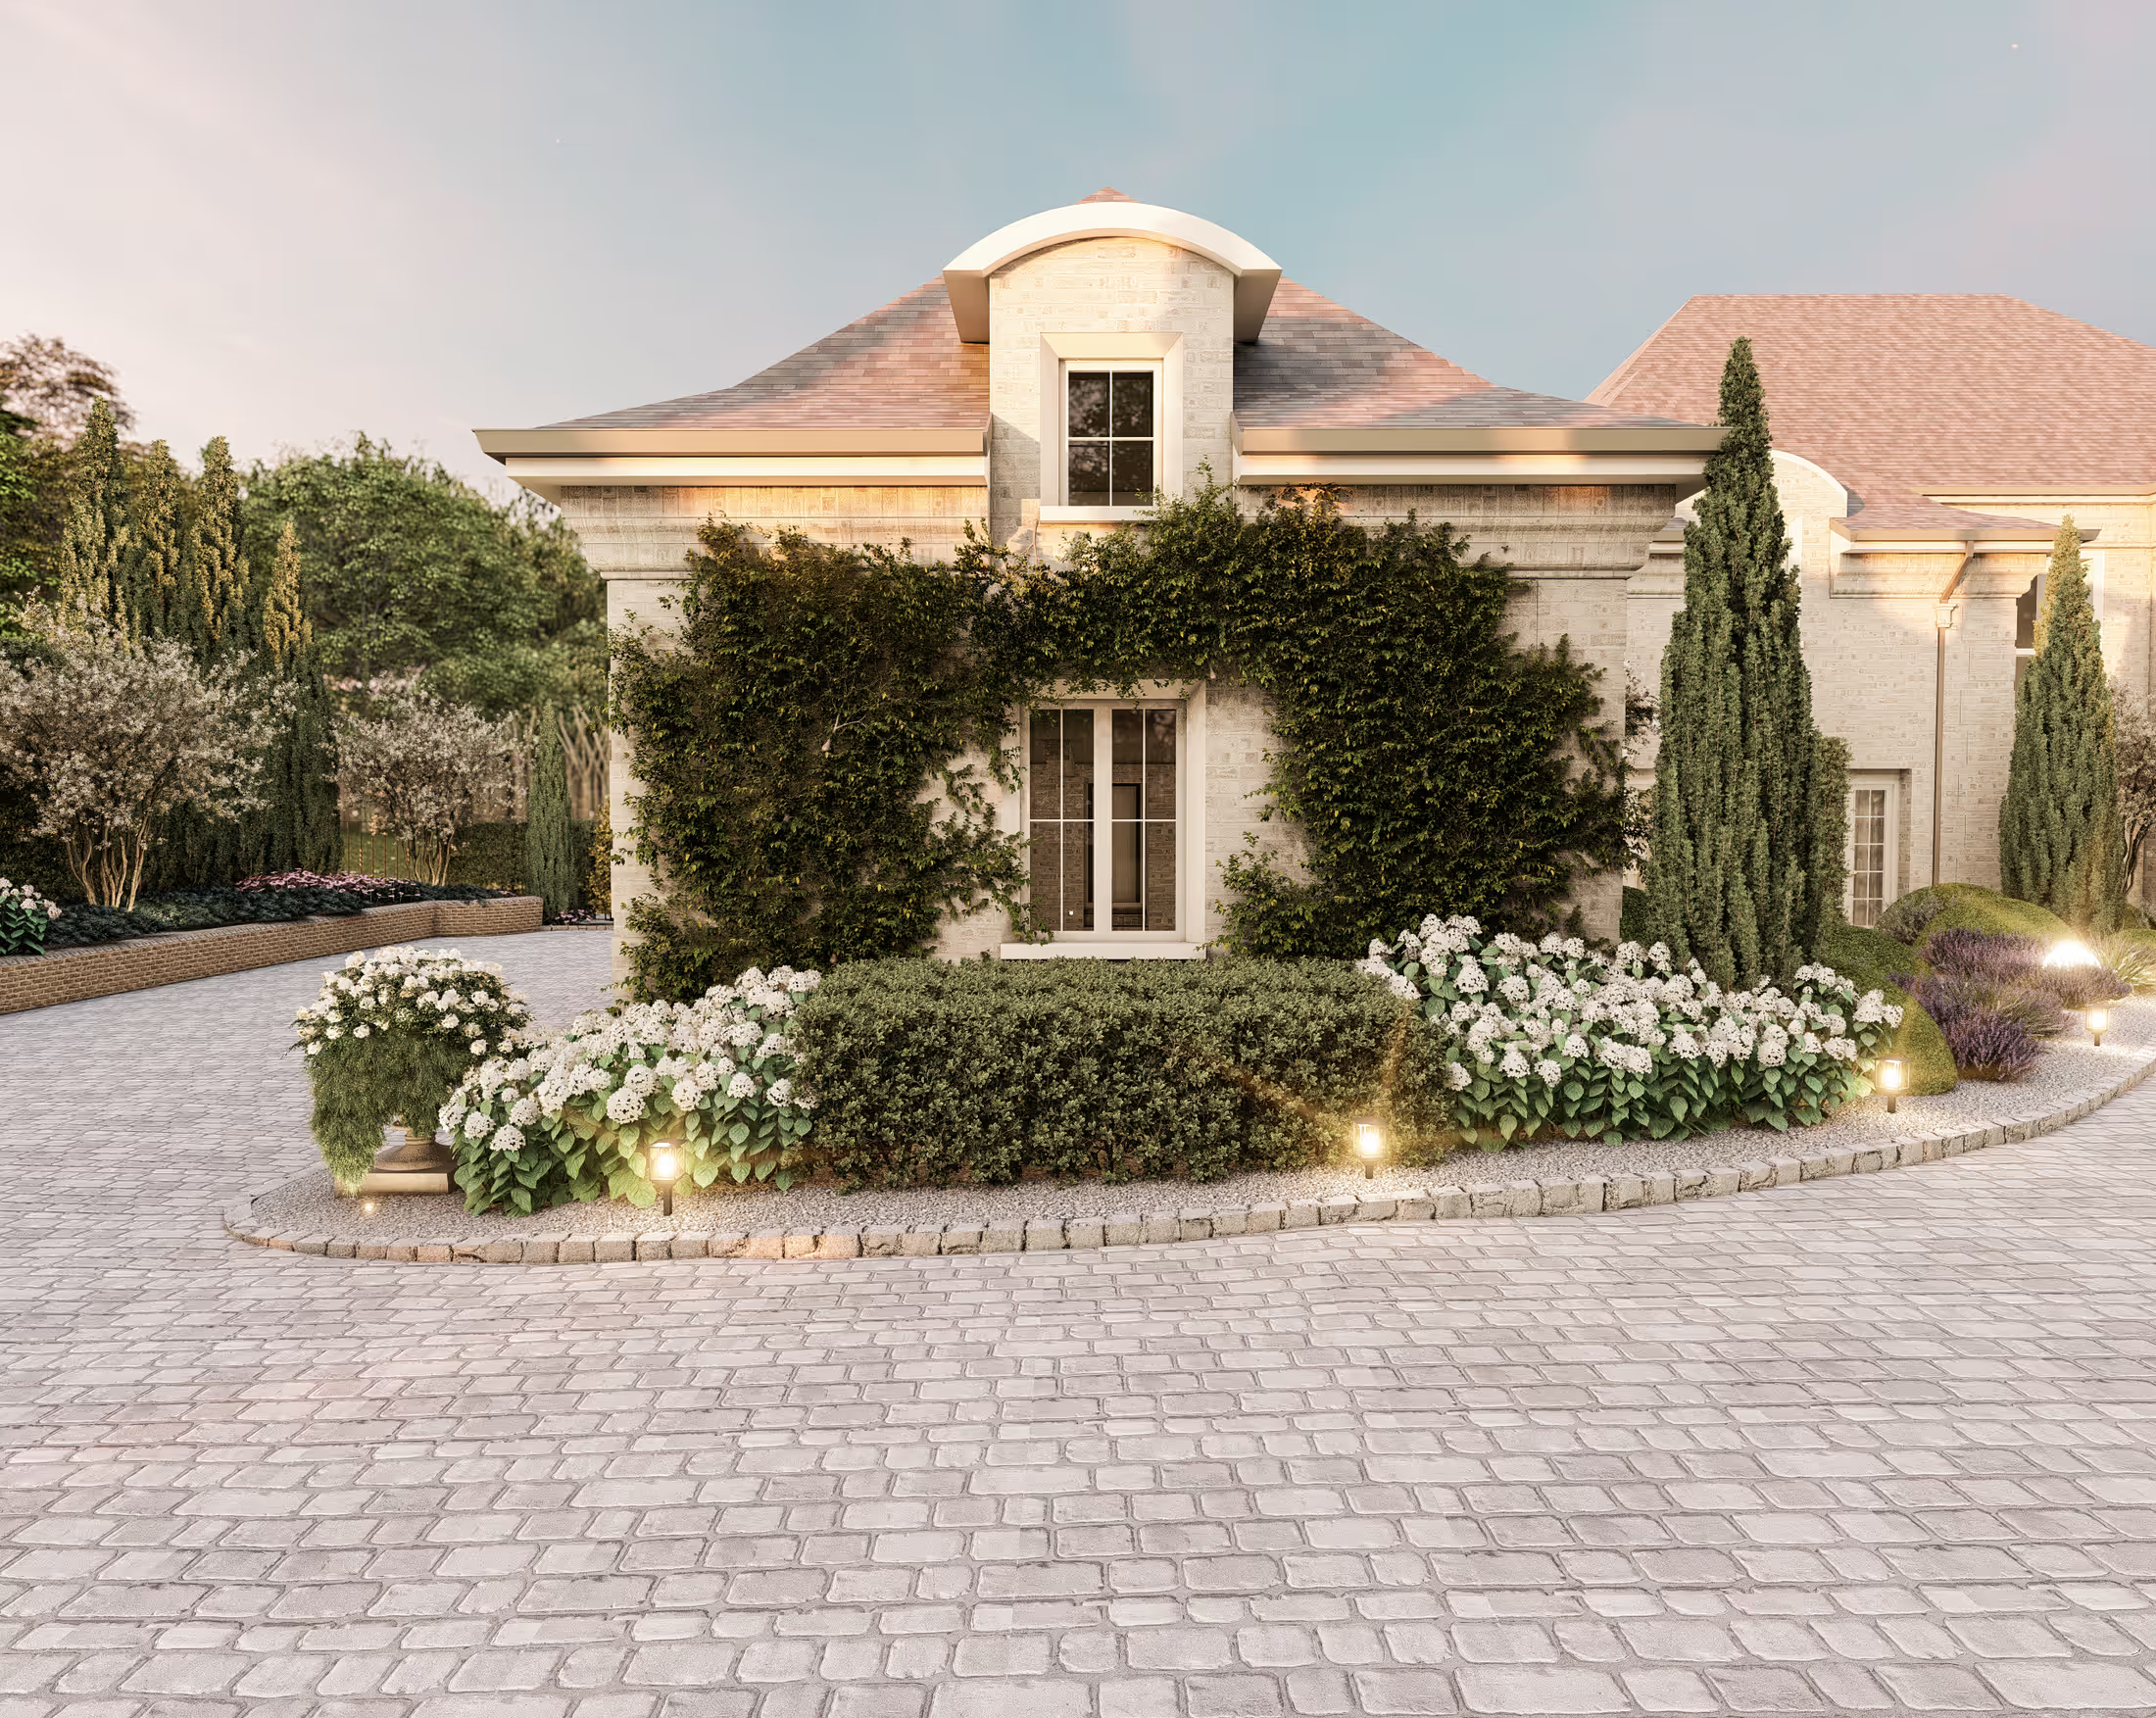

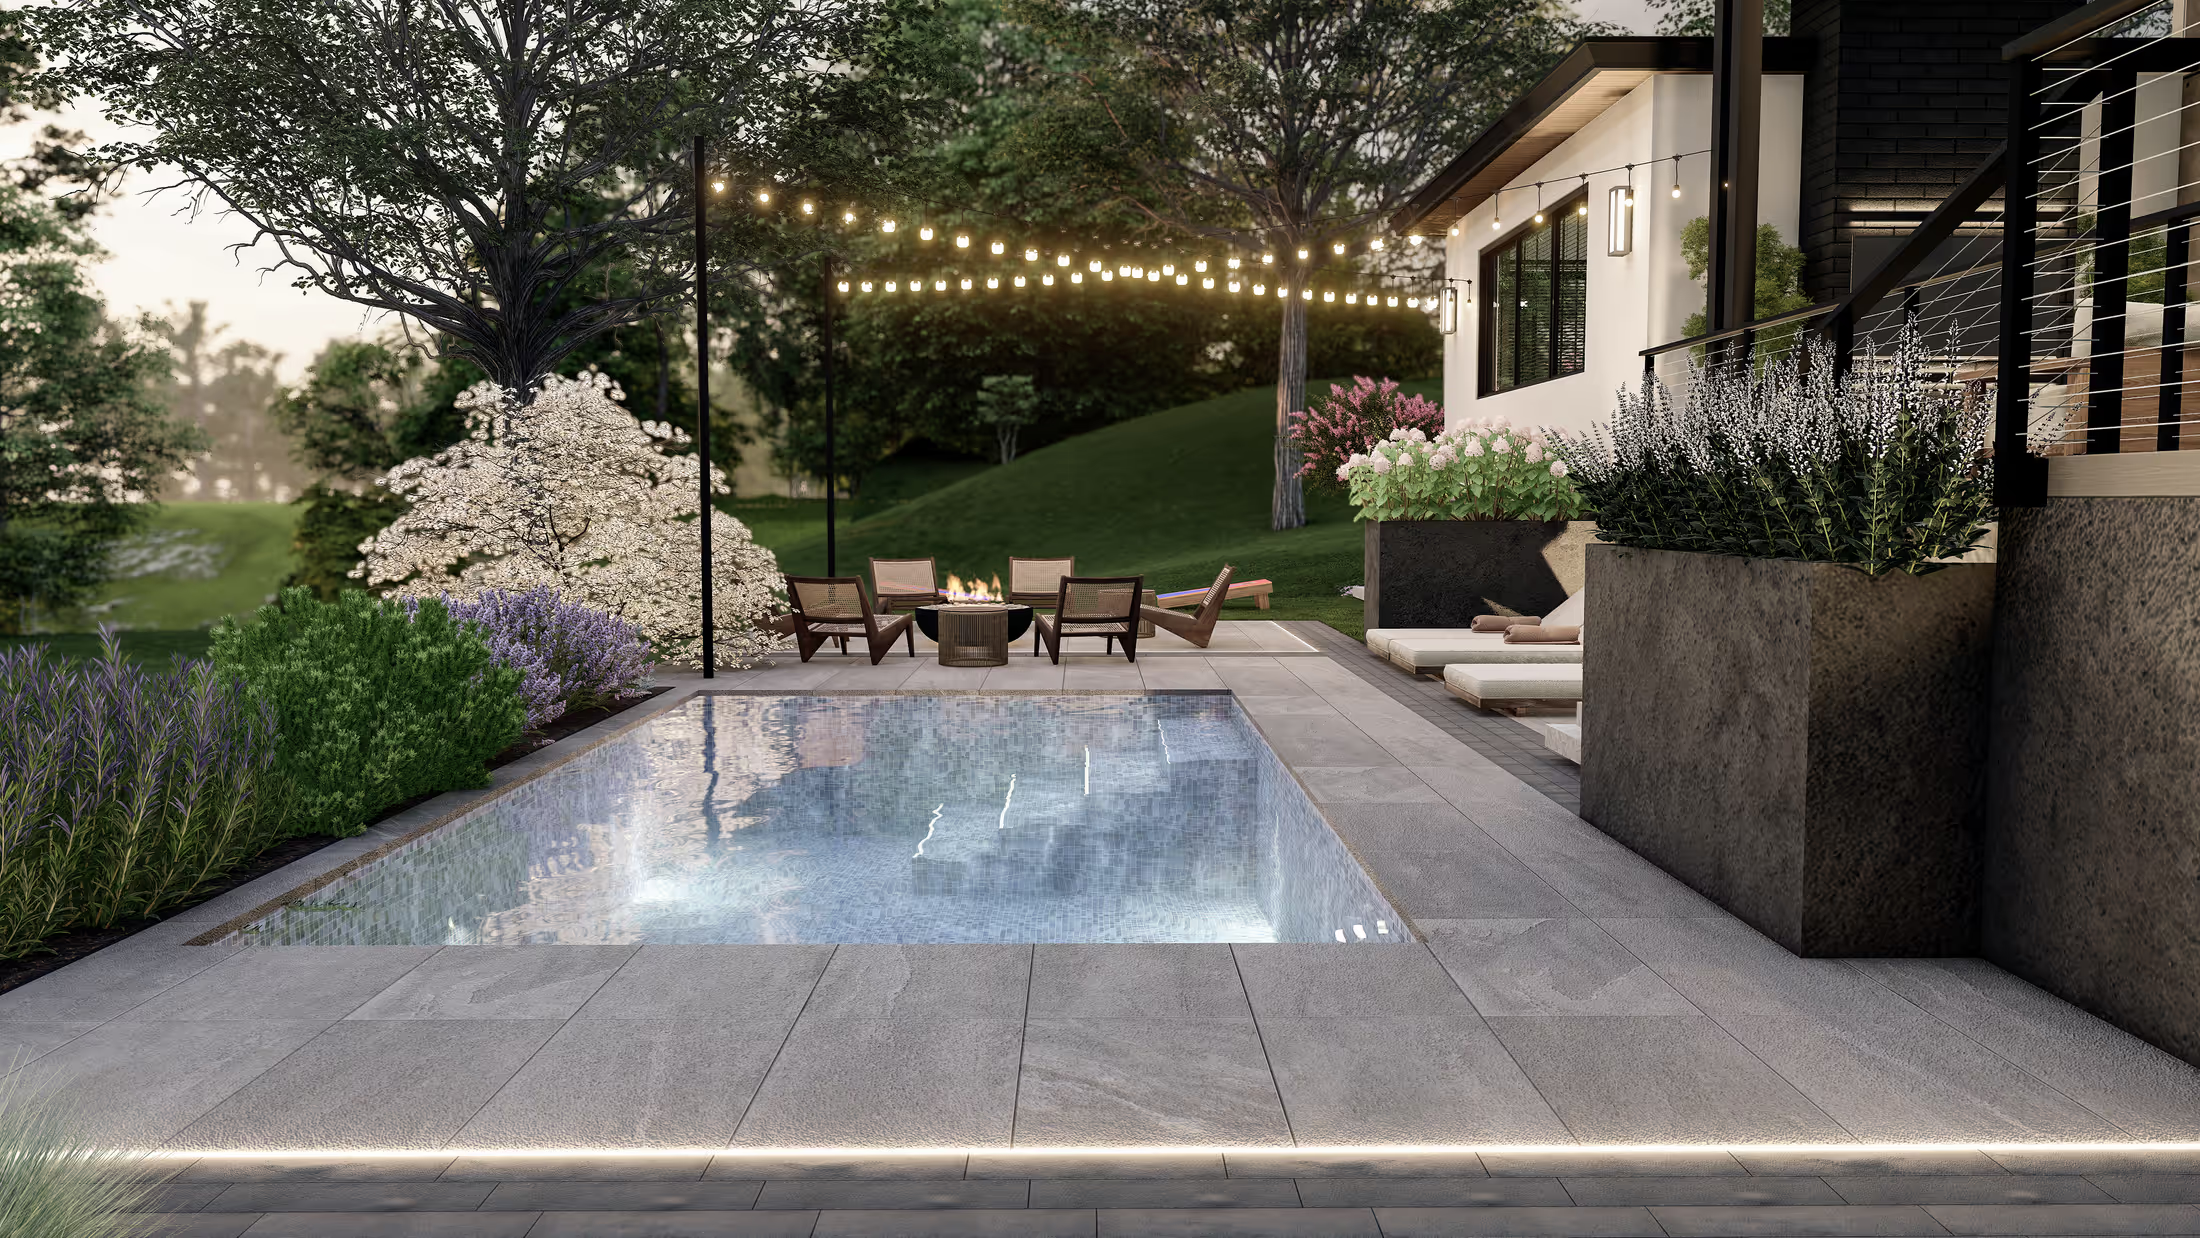
Think about how you actually spend time with your backyard. You see it while making coffee, from the dinner table, from the sofa in the evening, and from your desk if you work from home. In hot climates, there are whole months when you look at the yard far more than you use it.
Yet most backyards are designed from the outside: someone stands in the yard, picks a spot for the pool, adds plants along the fence, and calls it done. The result often looks fine in photos taken from the garden, but from the kitchen window you see the side of the pool equipment and a random shrub.
With an architecture background, I always start a design from the house, not the yard. Here's how to design a backyard that looks great from where you actually see it.
1. Start inside: find your "view windows"
Before thinking about plants or materials, walk through your house and note the windows and doors you look through most. For most families, these are:
- The kitchen window, especially over the sink or stove, where you stand every day
- The living room, usually seen while sitting, which lowers your eye level
- The dining table, where you look out at the same spot at every meal
- The primary bedroom, the first view in the morning
- A home office, if you work from home
Take a photo from each spot at the height your eyes would be, standing or sitting. These photos become the most useful design tool you have. A garden that looks great from these three or four positions will feel great every day.
2. Give each main view one focal point
A view without a focal point feels empty. A view with five focal points feels cluttered. Aim for one clear thing that catches the eye from each main window: a sculptural tree, a water feature, a lit wall with a single specimen plant, a sculpture, or a fire feature.
Place it deliberately. On the center line of a door or window, it feels formal and calm. Slightly off center, it feels more natural and relaxed. Either works, as long as it looks intended rather than accidental.
3. Line up the garden with the architecture
The strongest gardens borrow the lines of the house. When the pool edge runs parallel to the facade, when a path starts at the center of a door, and when the patio ends in line with a wall corner, the whole property feels calm and designed as one.
Small misalignments are more noticeable than people expect. A pool that is slightly off center from the living room doors will bother you every time you sit down, even if you can't say why. Aligning the layout with windows, doors, and mullions costs nothing during design and is very expensive to fix later.
4. Design the view in layers
A good view has depth, like a painting:
- Foreground: what's right outside the window. Keep it low and fine textured, such as groundcover, low grasses, or a planter, so it frames the view rather than blocking it.
- Middle ground: the patio, pool, lawn, or seating area. This is where the garden's main activity happens.
- Background: trees, a garden wall, a hedge, or a view beyond the property.
Layering makes even a small yard feel deeper and larger than it is, because the eye travels through several distances instead of stopping at the fence.
5. Borrow the good view, block the bad one
If you have mountains, a golf course, or mature trees beyond your property line, design to frame them. Keep that part of the garden low and place taller elements on either side, like a picture frame.
If what you see is a neighbor's second story or a parking area, place a tree or screen where it blocks that specific view from your specific window. Because the window is close to your eye and the screen is further away, a well-placed tree can hide much more than its size suggests. This only works if you test it from the actual window position, not from a plan.
6. Hide the equipment from the windows
Pool pumps, AC units, trash bins, and utility boxes have to go somewhere. The mistake is placing them where they're convenient on a plan without checking what you see from inside. Check every main view window and make sure equipment is out of sight or screened with a low wall, a fence panel, or planting.
7. Plan the view for night
For most working people, many weekday views of the garden happen after dark. At night, when it's brighter inside than outside, windows act like mirrors. Instead of your garden, you see your own living room reflected back.
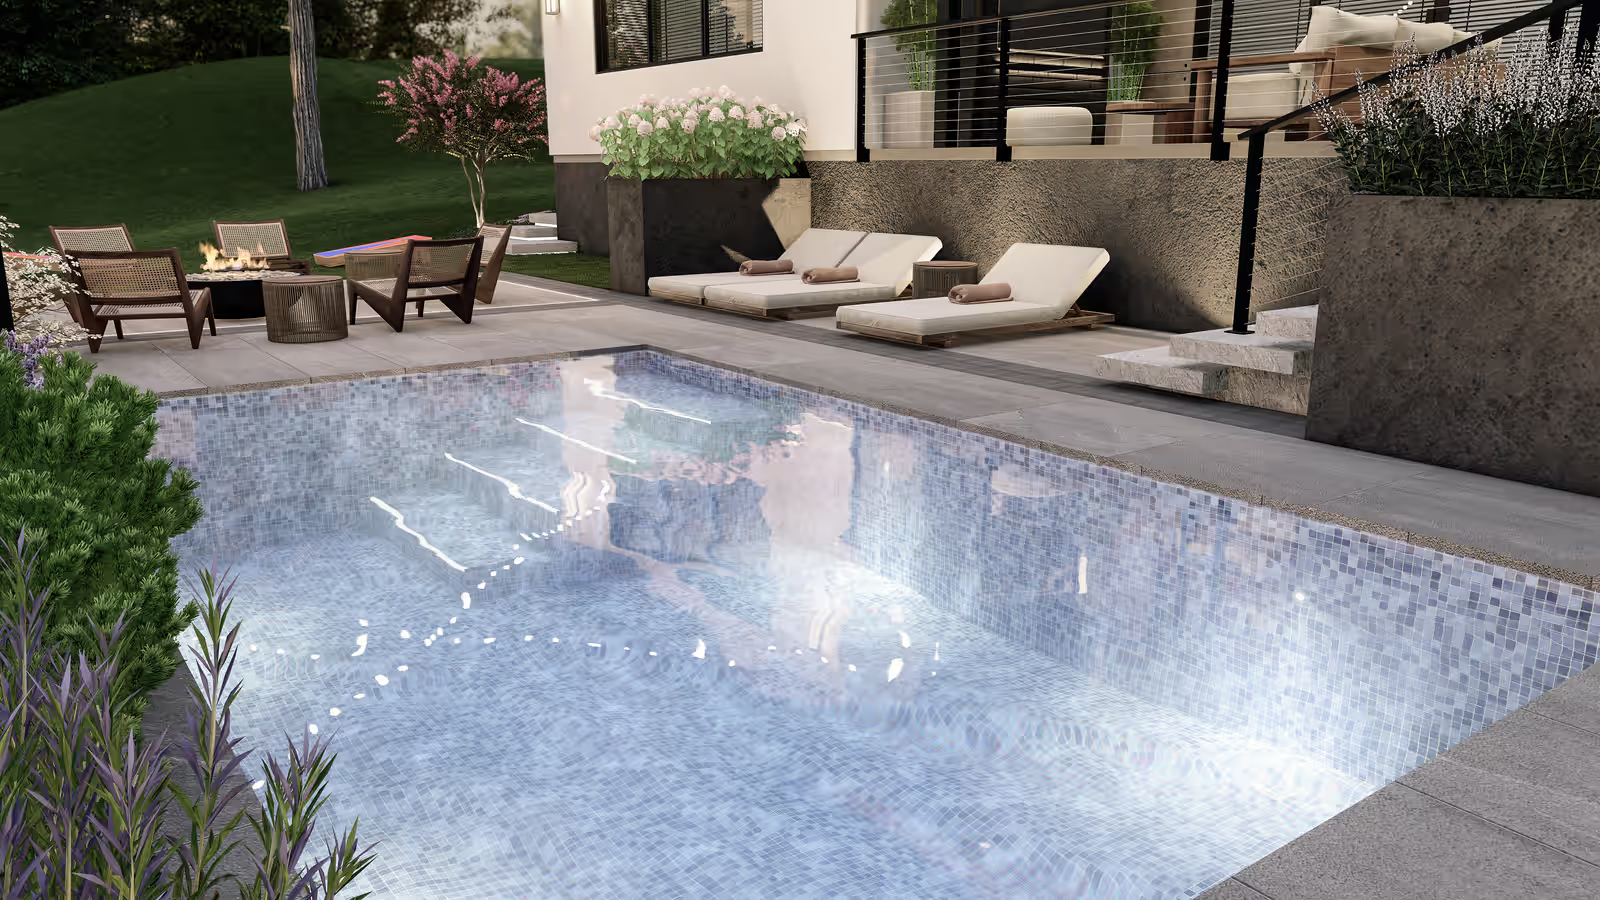
Landscape lighting solves this. Uplight the focal tree, wash a back wall with soft light, and light the pool, so the outdoor view stays visible after sunset. Use warm light and keep it subtle. The goal is a calm view with depth, not a floodlit yard.
8. Think about sun, seasons, and glare
A view that looks beautiful in the morning can be unbearable in the afternoon if the sun reflects off a pale wall or the pool straight into your living room. In the desert, west-facing windows need extra thought: shade trees, a pergola, or darker, matte surfaces can make the view comfortable all day.
Also consider the seasons. Deciduous trees open the view in winter and shade the house in summer. Evergreen screening stays the same all year, which matters if privacy is the goal.
9. Don't block the view you're creating
It's common to fill the space right outside the windows with tall plants because it feels "green." Over time, they grow into a wall that hides the whole garden. Keep the zone directly outside your main windows below the sill height, and put the height further out, where it frames the view instead of covering it.
The same goes for outdoor furniture. Umbrellas, tall grills, and the backs of large outdoor sofas can block a view that took the whole design to create.
How to check the view before you build
The hardest part of all this is that you can't stand inside a garden that doesn't exist yet. A plan shows the layout from above, but you never see your garden from above.
This is where 3D renders are valuable. A render taken from your kitchen or living room at real eye level shows exactly what you'll see every day, so you can move the tree, shift the pool, or change the planting before anything is built. [CONFIRM WITH NATAŠA: are interior viewpoint renders included as standard, or only on certain packages?]
If you're choosing someone to design your yard, ask whether they'll show you the garden from inside the house. For more on what to expect from different types of designers, read Landscape Designer vs. Landscape Architect vs. Design-Build.
Quick checklist
Tick items off as you go.
Planning a yard of your own?
Send a few photos and I’ll show you what it can become.